About Me

My photo
I created this blog as a way to "Keep up with the Joneses"! We feel so blessed to get to spend everyday together and my hope is that this blog is a way for us to look back and remember our journey together! I know this will evolve and I cannot wait to see what it turns in to. I have recently added my side business on to the blog. I taking a leap of faith with my photography and cannot wait to see what happens. I hope you enjoy!
Showing posts with label crafts. Show all posts

Tuesday, June 5, 2012

4th of July SHORTS!!! DIY


So many of you might have seen these cuties on PINTEREST.. well my sister and I decided to give them a try. Since we will be apart on the 4th of July it was necessary that we both make a pair to wear. She will be on the ranch in Longview and I will be in BOSTON on the harbor. I am horrible at giving tutorials on how to do anything but you can check out exact directions here  FLAG SHORTS ... I will say for someone that is not very crafty this was pretty easy.. granted I had my SUPER crafty sister Annie to help me along the way. Here is our process:


Here are the supplies we used.. fabric spray paint.. sticky stars for the template and painters tape! Oh and of course scissors to cut of the shorts! 


We went to the good will and bought Jeans for 99 cents to cut off... According to Annie you should not cut straight across it should be on a slant.. we used shorts we liked the length of to measure. We added two inches to the measurement because we wanted to be able to fold ours over if we wanted. 
We then taped everything off.. you can arrange things however you want. Then the painting begin 

After we finished spraying and removing the tape


Then it was time to wash and dry them.. ours didn't come out exactly how we wanted after the first wash so we added bleach and washed again to get the washed out faded look. 


 We can't wait to wear our shorts!

Thankful for a crafty sister,

MJ


Friday, March 16, 2012

DIY: One Wreath All Year

So if you know me well at all you know I am not the craftiest person there is. I have gotten a lot better and am still practicing. I am determined to be a more creative DIY type of person. I have been wanting to make a wreath for our front door for a very long time. I searched PINTEREST and found several that I liked. I decided to combine a few. I wanted a burlap bubble wreath, but I liked the idea of having my same wreath all year round and just switch out some element of it for every holiday. I am currently obsessed with the letter J so I decided mine would have different J's for every holiday. I also decided that since this was a big project for me and I was doing it all by myself I would document the creation part of it so here we go:

First I went to hobby lobby and purchased: 10 wooden J's, Mod Podge ( I was out), Scrap book paper for every season (it was 50% off), sewing pins, adhesive, 1.5 yards of burlap, a 10 inch plastic wreath


The Base for the Wreath (10inches) 

 The Pins I used 
Step 1: Cut your 1.5 yards of burlap into 4x4 squares 

I think I ended up having over 100 squares 

Then it is time to make the bubbles that will be pinned on to the wreath. 

 Fold the square to form a triangle 

 Take the right side and fold it towards the point of the triangle 

Take the left side and fold it towards the point of the triangle on the opposite side 

You will then stick the pin through all four corners and then attach it to the wreath, Make sure you attach each new bubble close enough that it covers the pin of the previous bubble. 

After I did a few I placed my J where I wanted it on the wreath that way I did not but bubbles in that area 
Instead I wrapped that area with burlap to cover the white and then used my adhesive to place the J on there. 

Here is what mine looked like with the adhesive in place. 

And then you put the other sticky stuff on the J so that they can stick together like above! 

Heres what the back looks like to give you an idea.. You may need to put bubbles on the upper back and even on the inside to cover all of the white. I also know that some people use different color burlaps and paint their wreath that color first. 


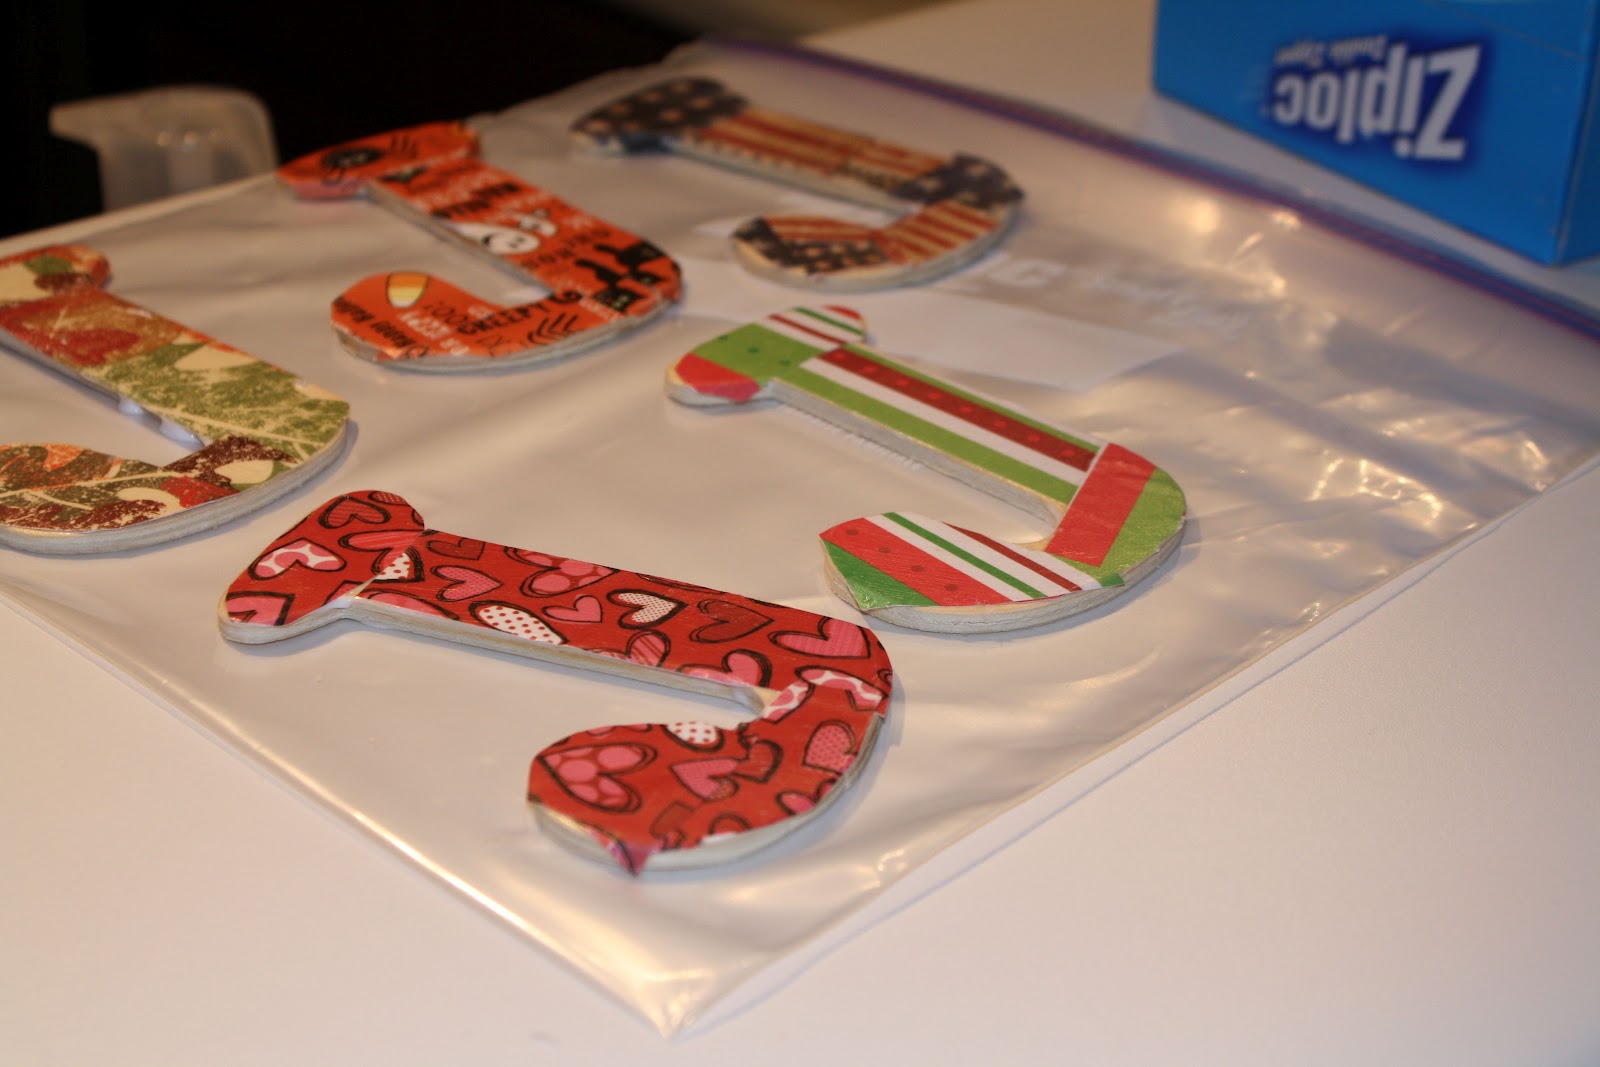
Then I cut up my paper and mod podge all 9 J's that way I would be done with the wreath and would not have to worry. I did one for: St. Patricks Day, Spring, Summer, 4th of July, Baylor Football, Halloween, Thanksgiving, Christmas, Valentines Day 
Honestly this was the hardest part of the entire wreath. Next time I might make a bigger bubble wreath and just do different colored ribbons for each holiday.


I found this idea on Pinterest and used this incredible blog site to walk me step by step through the process!!  Bubble Wreath Tutorial


Thankful for PINTEREST crafts, 

MJ