


First I went to hobby lobby and purchased: 10 wooden J's, Mod Podge ( I was out), Scrap book paper for every season (it was 50% off), sewing pins, adhesive, 1.5 yards of burlap, a 10 inch plastic wreath

The Base for the Wreath (10inches)

The Pins I used

Step 1: Cut your 1.5 yards of burlap into 4x4 squares

I think I ended up having over 100 squares
Then it is time to make the bubbles that will be pinned on to the wreath.

Fold the square to form a triangle

Take the right side and fold it towards the point of the triangle

Take the left side and fold it towards the point of the triangle on the opposite side
You will then stick the pin through all four corners and then attach it to the wreath, Make sure you attach each new bubble close enough that it covers the pin of the previous bubble.

After I did a few I placed my J where I wanted it on the wreath that way I did not but bubbles in that area
Instead I wrapped that area with burlap to cover the white and then used my adhesive to place the J on there.

Here is what mine looked like with the adhesive in place.

And then you put the other sticky stuff on the J so that they can stick together like above!

Heres what the back looks like to give you an idea.. You may need to put bubbles on the upper back and even on the inside to cover all of the white. I also know that some people use different color burlaps and paint their wreath that color first.
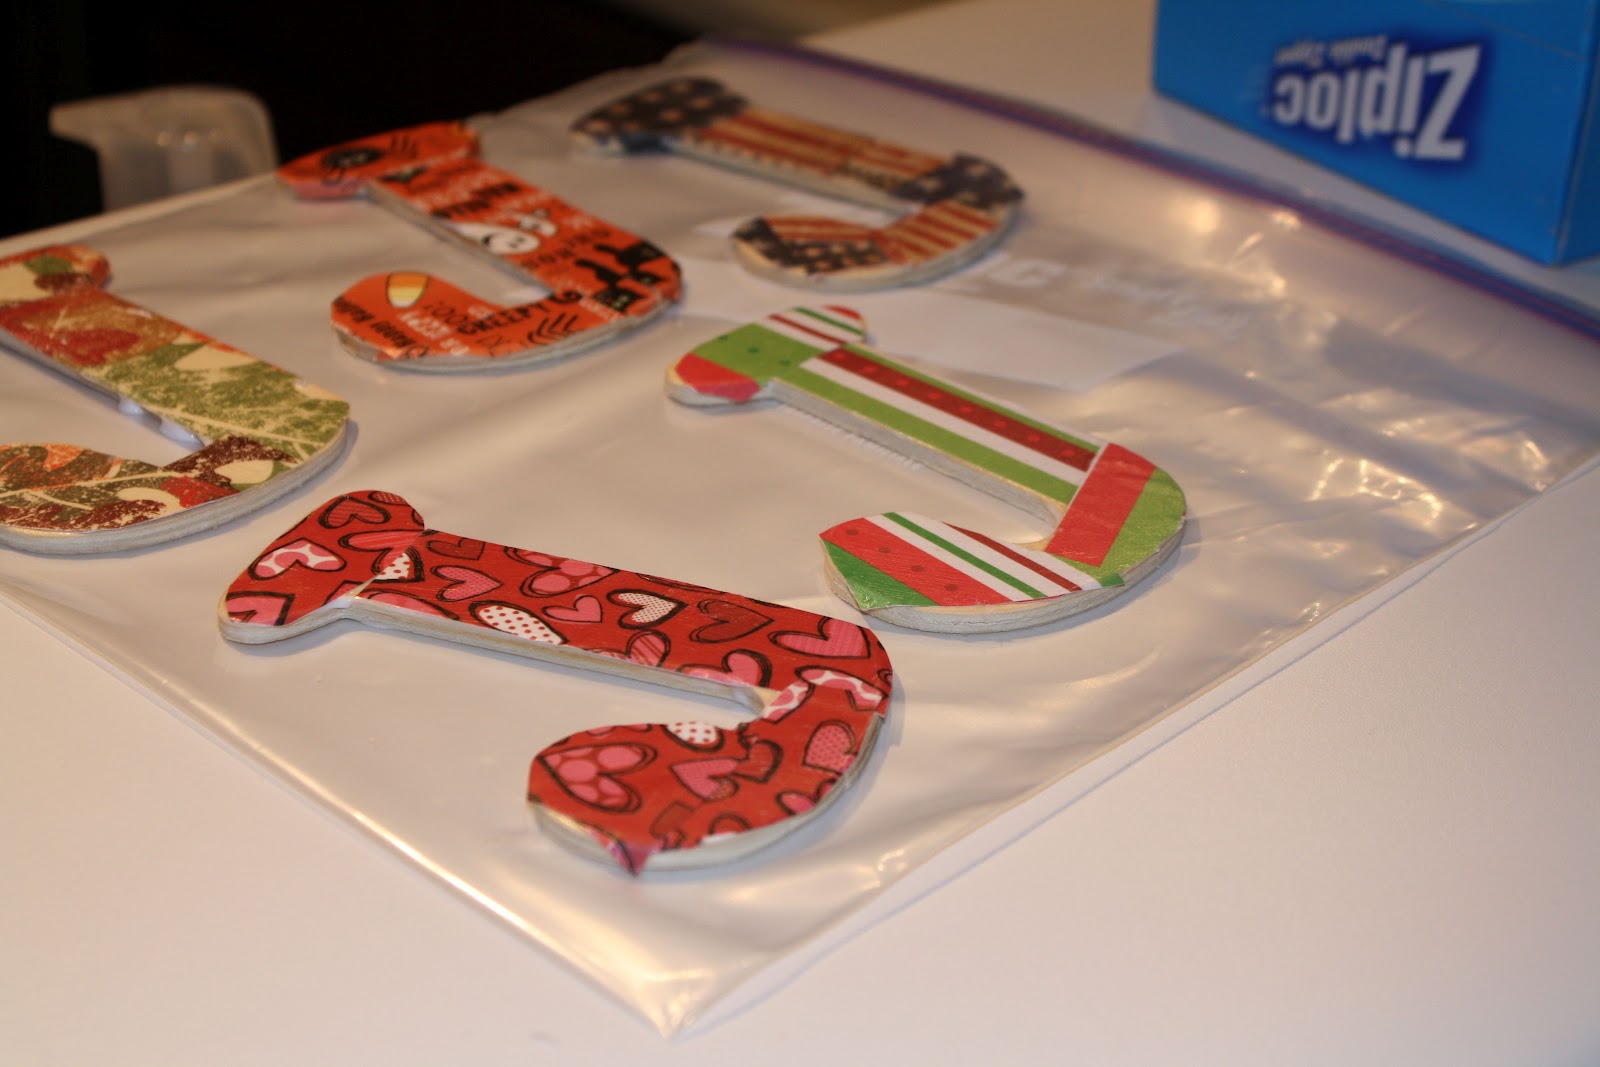


Then I cut up my paper and mod podge all 9 J's that way I would be done with the wreath and would not have to worry. I did one for: St. Patricks Day, Spring, Summer, 4th of July, Baylor Football, Halloween, Thanksgiving, Christmas, Valentines Day
Honestly this was the hardest part of the entire wreath. Next time I might make a bigger bubble wreath and just do different colored ribbons for each holiday.


I found this idea on Pinterest and used this incredible blog site to walk me step by step through the process!! Bubble Wreath Tutorial
Thankful for PINTEREST crafts,
MJ
No comments:
Post a Comment